
How to Garnish Wages in Quickbooks?
Anúncios
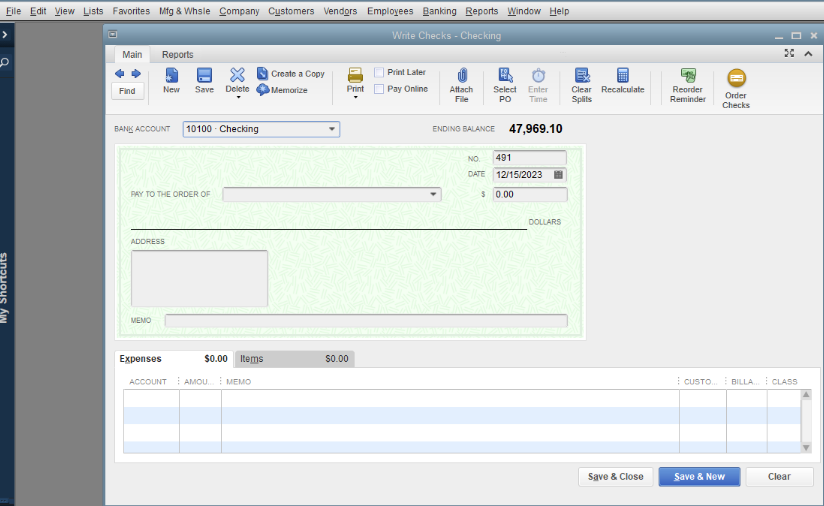
If you need to garnish wages in Quickbooks, there are a few things you’ll need to do. First, you’ll need to create a deduction item. To do this, go to the Lists menu and click on Item List.
Then, click the Item button at the bottom of the screen and choose New from the drop-down menu. Enter the name of the deduction and any other relevant information. Next, you’ll need to create an invoice for the employee.
Be sure to include the amount that will be deducted from their paycheck as well as any other relevant information. Finally, when it’s time to run payroll, simply select the deduction item from the list of deductions and enter in how much should be deducted from each employee’s paycheck.
QuickBooks Payroll, Setting Up a Wage Garnishment
- Enter the employee’s name in the search bar and select them from the drop-down menu
- Click on the “Payroll” tab at the top of the page
- Select “Garnish Wages” from the sidebar on the left-hand side of the page
- Enter in the amount to be garnished and select a pay period from the drop-down menu
- Click “Save” to save your changes
How to Pay Wage Garnishment in Quickbooks Online
If you’re using QuickBooks Online, there are a couple different ways you can pay wage garnishments. Here’s a step-by-step guide on how to do it:
1. Go to the Employees tab and select the employee who has a wage garnishment.
2. Click on the Paycheck Detail tab and then click the “Garnishments” button.
3. Enter the amount of the garnishment in the “Amount” field and select the appropriate account from the “Account” drop-down menu.
4. Click “Save & New” to save this information and create another paycheck for this employee with the same Garnishment information entered.
Anúncios
Wage Garnishment Journal Entry
Wage garnishment journal entry is the process of recording the amount of money that has been deducted from an employee’s wages in order to satisfy a debt. This can be done by the employer or by the employee themselves. The journal entry should include the date, amount, and reason for the deduction.
How to Set Up Child Support Garnishment in Quickbooks Desktop
If you’re a QuickBooks Desktop user who needs to set up child support garnishment, you’re in luck. It’s actually a pretty simple process. Here’s a step-by-step guide to help you get it done:
1. Go to the Employees menu and select Payroll Center.
2. In the Garnishments section, click the Add button.
3. Select Child Support from the drop-down list of types of garnishments.
4. Enter the required information about the child support order, including the amount to be withheld and how often it should be deducted from payroll checks.
5. Click Save & Close when you’re finished.
That’s all there is to it!
Once you’ve set up child support garnishment in QuickBooks Desktop, your employees’ payroll checks will automatically have the appropriate deductions taken out each pay period.
Anúncios
Which Statement is True of Recording Tips With Quickbooks Online Payroll?
There are a few things to keep in mind when recording tips with QuickBooks Online Payroll. First, you’ll need to make sure that you have the “Allow Tips” option enabled in your company settings. Once that’s done, you can start recording tips for your employees.
When it comes to actually recording the tips, there are a couple different ways you can do it. You can either have your employees enter their own tips each payday, or you can record them yourself in bulk. If you’re going to record the tips yourself, just be sure to keep accurate records of who earned what so that everything balances out come tax time.
And that’s really all there is to it! Recording tips with QuickBooks Online Payroll is simple and straightforward once you know how it works. Just be sure to stay organized and keep good records, and you’ll be all set.
How to Set Up a Payroll Deduction in Quickbooks Desktop
If you have employees, you need to set up payroll deductions in QuickBooks Desktop. Here’s how:
1. Go to the Employees menu and select Payroll Taxes and Liabilities.
2. Select Set Up Payroll Taxes and click Next.
3. Choose your country and state, then click Next.
4. Enter your company information, then click Next.
5. Enter your employee information, then click Next.
6. Select the deductions you want to withhold from your employees’ paychecks, then click Finish.

Credit: yourbusiness.azcentral.com
How Do I Print a Garnishment Check in Quickbooks Online?
If you’re in the process of paying off a debt, you may be required to print a garnishment check in QuickBooks Online. Here’s how to do it:
1. Go to the Vendors menu and select Pay Bills.
2. On the Pay Bills page, find the bill that corresponds to the debt you’re paying off.
3. Select the bill and then click Print Checks at the bottom of the page.
4. On the next screen, make sure that Garnishment is selected as the Check Type.
Then enter all of the relevant information about the debt and your payment amount.
5. Click Print Checks and then choose whether you want to print them now or save them as a PDF for later printing.
How Do You Account for Garnishments in Accounting?
If you are an employer, you may be required to withhold amounts from your employee’s wages to pay their creditors. This is called wage garnishment. As an employer, you must follow the procedures set forth by state and federal law.
When withholding money from an employee’s paycheck for garnishment, you must deduct the amount specified in the court order or notice from their disposable earnings. Disposable earnings are defined as the amount of an employee’s wages left after taxes and other mandatory deductions have been withheld. You cannot withhold more than 25% of an employee’s disposable earnings or any amount that would leave them with less than 30 times the federal minimum hourly wage, whichever is less.
You should keep a record of all money withheld for garnishments in a separate account so that you can easily remit the funds to the creditor. You will also need to send a copy of each payroll check stub showing how much was deducted for garnishments to the creditor along with your payment.
While wage garnishments can be a hassle, it is important to stay compliant with state and federal law.
How Do I Delete a Wage Garnishment in Quickbooks Desktop?
If you’re being garnished, it means that someone has taken legal action against you and won a judgment. The court has ordered your employer to withhold money from your paycheck each week or month and send it directly to the person or organization who won the judgment (the “creditor”).
If you use QuickBooks Desktop, there are two ways to track wage garnishments: by setting up an Other Current Liability account for the creditor, or by setting up a separate bank account for the garnishment payments.
To set up an Other Current Liability account:
1. Go to Lists > Chart of Accounts.
2. Click Account at the bottom of the list.
3. Select New from the drop-down menu.
4. Choose Other Current Liability for the Type field and enter a name for the account in the Name field (e.g., “Wage Garnishment”). Click Save & Close when finished.
5. To add transactions to this new account, go to Company > Make General Journal Entries, then select the name of your new Wage Garnishment liability account in the first column on the right side of the screen (“Account” field). Enter debits in blue and credits in red; make sure that your total debits equal your total credits before clicking Save & Close when finished..
What is the Formula for Garnishment?
In the United States, wage garnishment happens when an employer withholds a portion of an employee’s earnings to pay back debts. The most common type of garnishment is for child support or unpaid taxes, but it can also be for other debts like outstanding credit card balances or student loans.
The formula for calculating garnishment differs depending on the type of debt and the state you live in.
For example, the maximum amount that can be garnished for child support is 50% of your disposable earnings (what’s left after taxes and mandatory deductions) if you’re supporting another child, 60% if you’re not. However, these percentages usually only apply if you’re behind on your payments; if you’re current on your payments, generally only a smaller portion of your earnings can be taken.
Similarly, the maximum amount that can be garnished for unpaid taxes also depends on the state you live in.
The IRS has a “Financial Standards” document that outlines how much money someone needs to live based on their family size, which is used to determine the maximum amount that can be Garnished from wages.
To calculate the specific amount that will be Garnished from your paycheck, your employer will take a look at your disposable earnings and compare it to the maximum allowed by law based on the type of debt owed. They will then withhold the appropriate amount from each paycheck until the debt is repaid in full.
Conclusion
If you’re looking to garnish wages in QuickBooks, there are a few things you’ll need to do. First, you’ll need to create a new account in QuickBooks for the wage garnishment. Once you’ve done that, you’ll need to add the employee’s name and information to the account.
Finally, you’ll need to set up the garnishment rules in QuickBooks.


