
How to Add Inventory in Quickbooks?
Anúncios
Adding inventory in Quickbooks is a simple process that can be completed in a few steps. First, you’ll need to create an item list which will include all of the products or services that you sell. Next, you’ll need to add each item to your item list and specify how many you have in stock.
Finally, you’ll need to update your inventory quantities whenever you buy or sell products.
- Log in to your QuickBooks account and go to the “Inventory” tab
- Click on the “Add Inventory” button
- Enter the name, description, and quantity of the inventory item you wish to add
- Click on the “Save” button to save your changes
How to create inventory products in QuickBooks Online
How Do I Enter Inventory in Quickbooks?
Assuming you would like a step-by-step guide on how to enter inventory in QuickBooks:
1. Log into your QuickBooks account and go to the “Company” tab. Then, select “Inventory” from the list of options.
2. On the next page, click on the “Set up inventory items” button.
3. Now, you will be able to fill out all of the necessary information for each item in your inventory. This includes the name of the item, its SKU (if applicable), description, price, and quantity on hand.
Be sure to save this information once you are finished entering it.
4. To add new items to your inventory or edit existing ones, simply return to this page and make any necessary changes/additions.
Anúncios
How Do I Create a New Inventory Item in Quickbooks?
Assuming you would like a step by step guide on how to create a new inventory item in QuickBooks:
1. Log in to your QuickBooks account and click the “Create (+)” button at the top of the screen, then select “Item” from the drop-down menu.
2. On the next screen, select “Inventory Part” from the “Type” drop-down menu and enter all relevant information about the item in the fields provided, such as name, description, price, etc.
3. Once you have entered all relevant information about the item, click “Save & Close” to add it to your inventory list.
How Do I Add an Inventory Asset in Quickbooks Online?
Adding an inventory asset in QuickBooks online is a fairly simple process. First, go to the “Lists” menu and click on “Items.” Next, click on the “New Item” button at the bottom of the screen.
A new window will appear where you can enter all of the relevant information for your inventory asset. Be sure to include the name, description, quantity, price, and any other pertinent details. Once you have entered all of the necessary information, click on the “Save & Close” button to save your changes.
Anúncios
How Do I Start a New Inventory in Quickbooks Online?
Assuming you would like a step-by-step guide on how to create an inventory item in QuickBooks Online:
1. Log into your QuickBooks Online account and go to the Sales tab.
2. Under the “Products and Services” column, select + New.
3. A pop-up window will appear titled “Create new product or service.” Choose whether you would like to create a Service, Inventory, Non-inventory, or Bundle product type. For this example we will choose Inventory item.
4. Enter all relevant information for your inventory item including name, description, price/rate, tax rate, income account (this is where revenue from selling the item will be tracked), and COGS account (this is where the cost of goods sold for the item will be tracked). If you have multiple locations set up in QuickBooks Online, you can also specify which location(s) this inventory item should be available at.

Credit: quickbooks.intuit.com
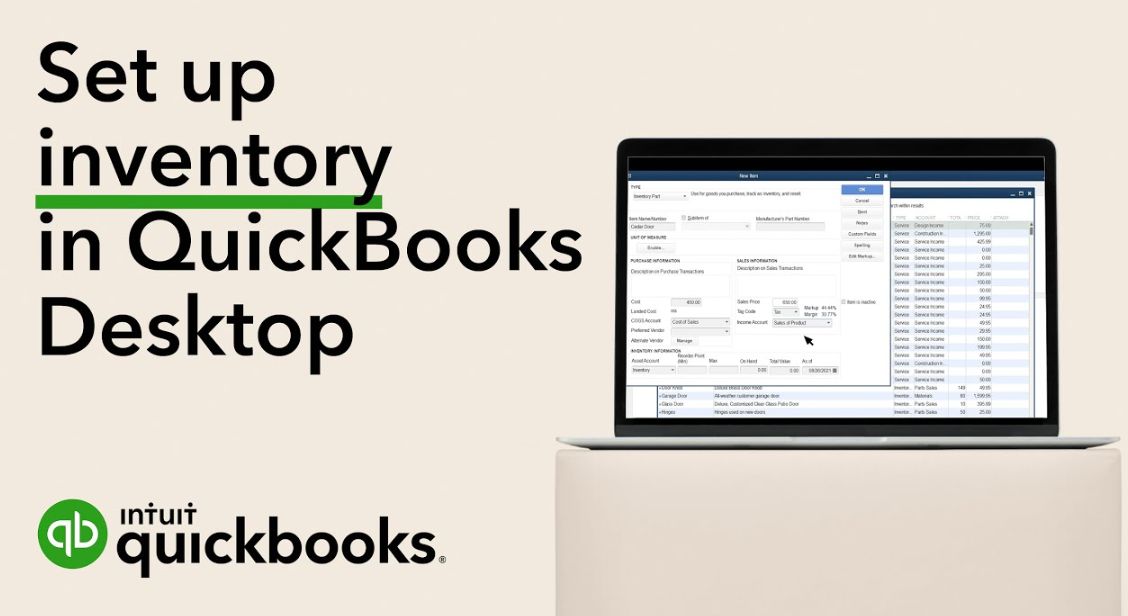
How to Enter Inventory in Quickbooks Desktop
Inventory is a critical part of any business, and keeping track of it can be a daunting task. Quickbooks Desktop makes it easy to enter and track your inventory, so you can always know what you have on hand and avoid stock-outs. Here’s how to do it:
1. Open Quickbooks Desktop and go to the Company menu. Select “Inventory” from the list of options.
2. In the Inventory Center, click the “New Item” button near the top of the screen.
3. Enter all relevant information about the item, including its name, description, unit price, and quantity on hand. Be sure to select an appropriate income account from the drop-down menu – this will ensure that your inventory is properly accounted for in your financial reports.
4. When you’re finished entering information about the item, click “OK” to save it in your inventory list.
Repeat this process for each additional item you want to track in Quickbooks Desktop.
Now that you’ve set up your inventory tracking in Quickbooks Desktop, it’s important to keep up with updating quantities as items are sold or new items are received.
How to Adjust Inventory in Quickbooks
If you’re a business owner, then you know that keeping track of your inventory is important. After all, inventory is one of your most valuable assets. And if you’re using Quickbooks to manage your finances, then you’ll want to know how to adjust inventory in Quickbooks.
There are a few different ways that you can adjust inventory in Quickbooks. One way is to use the “Adjust Quantity/Value on Hand” feature. This feature allows you to make changes to your inventory levels without having to create a new transaction.
To access this feature, go to the Lists menu and select Item List. Then, find the item that you want to adjust and click on it. In the Item Information window, click on the “Inventory” tab and then click on the “Adjust Quantity/Value on Hand” button.
Another way to adjust inventory in Quickbooks is through the use of invoices and credit memos. If you have an invoice for an item that you no longer have in stock, then you can void the invoice or create a credit memo for the customer. To do this, go to the Customers menu and select Create Credit Memos/Refunds.
Then, find the customer who purchased the item and select them from the list. Enter the quantity of items that were returned and choose whether or not you want to refund their payment method. Once you’ve entered all of the information, click Save & Close.
You can also adjust inventory levels by creating assembly items in Quickbooks Enterprise Solutions . Assembly items are created when multiple products are put together to form one finished product (e..g., a computer). To create an assembly item , go t o t he I nventory menu , s elect A ssembly I tems , c l ick N ew , e nter t he n ame o f t he i tem , d escribe t h e i tem’s u se (optional) , c hoose w hether o r not y ou w ant t o b ill f or b ot h p roducts a nd services when this item is sold (y es /no) , enter t h e development time required for this item (optional) .
Quickbooks Inventory Training
Are you looking for a QuickBooks inventory training course that can help you get the most out of your QuickBooks software? If so, you’ve come to the right place. This course is designed to provide you with the knowledge and skills necessary to effectively manage your inventory using QuickBooks.
You will learn how to set up and use QuickBooks for inventory management, including how to track stock levels, create purchase orders, and generate reports. We will also discuss best practices for managing your inventory in QuickBooks, so that you can streamline your workflow and save time.
By the end of this course, you will be able to confidently manage your inventory in QuickBooks and make the most of this powerful software tool.
So whether you’re new to QuickBooks or just looking to brush up on your skills, thiscourse is perfect for you.
Conclusion
Adding inventory in Quickbooks is a simple process that can be completed in a few steps. First, open the Quickbooks software and click on the “Inventory” tab. Next, click on the “Add Item” button and enter the necessary information about the item you wish to add.
Finally, click on the “Save” button and your new inventory will be added to Quickbooks.


