How to get to arch glacor in Hardmode (presets, mechanicsm strategy)
Anúncios
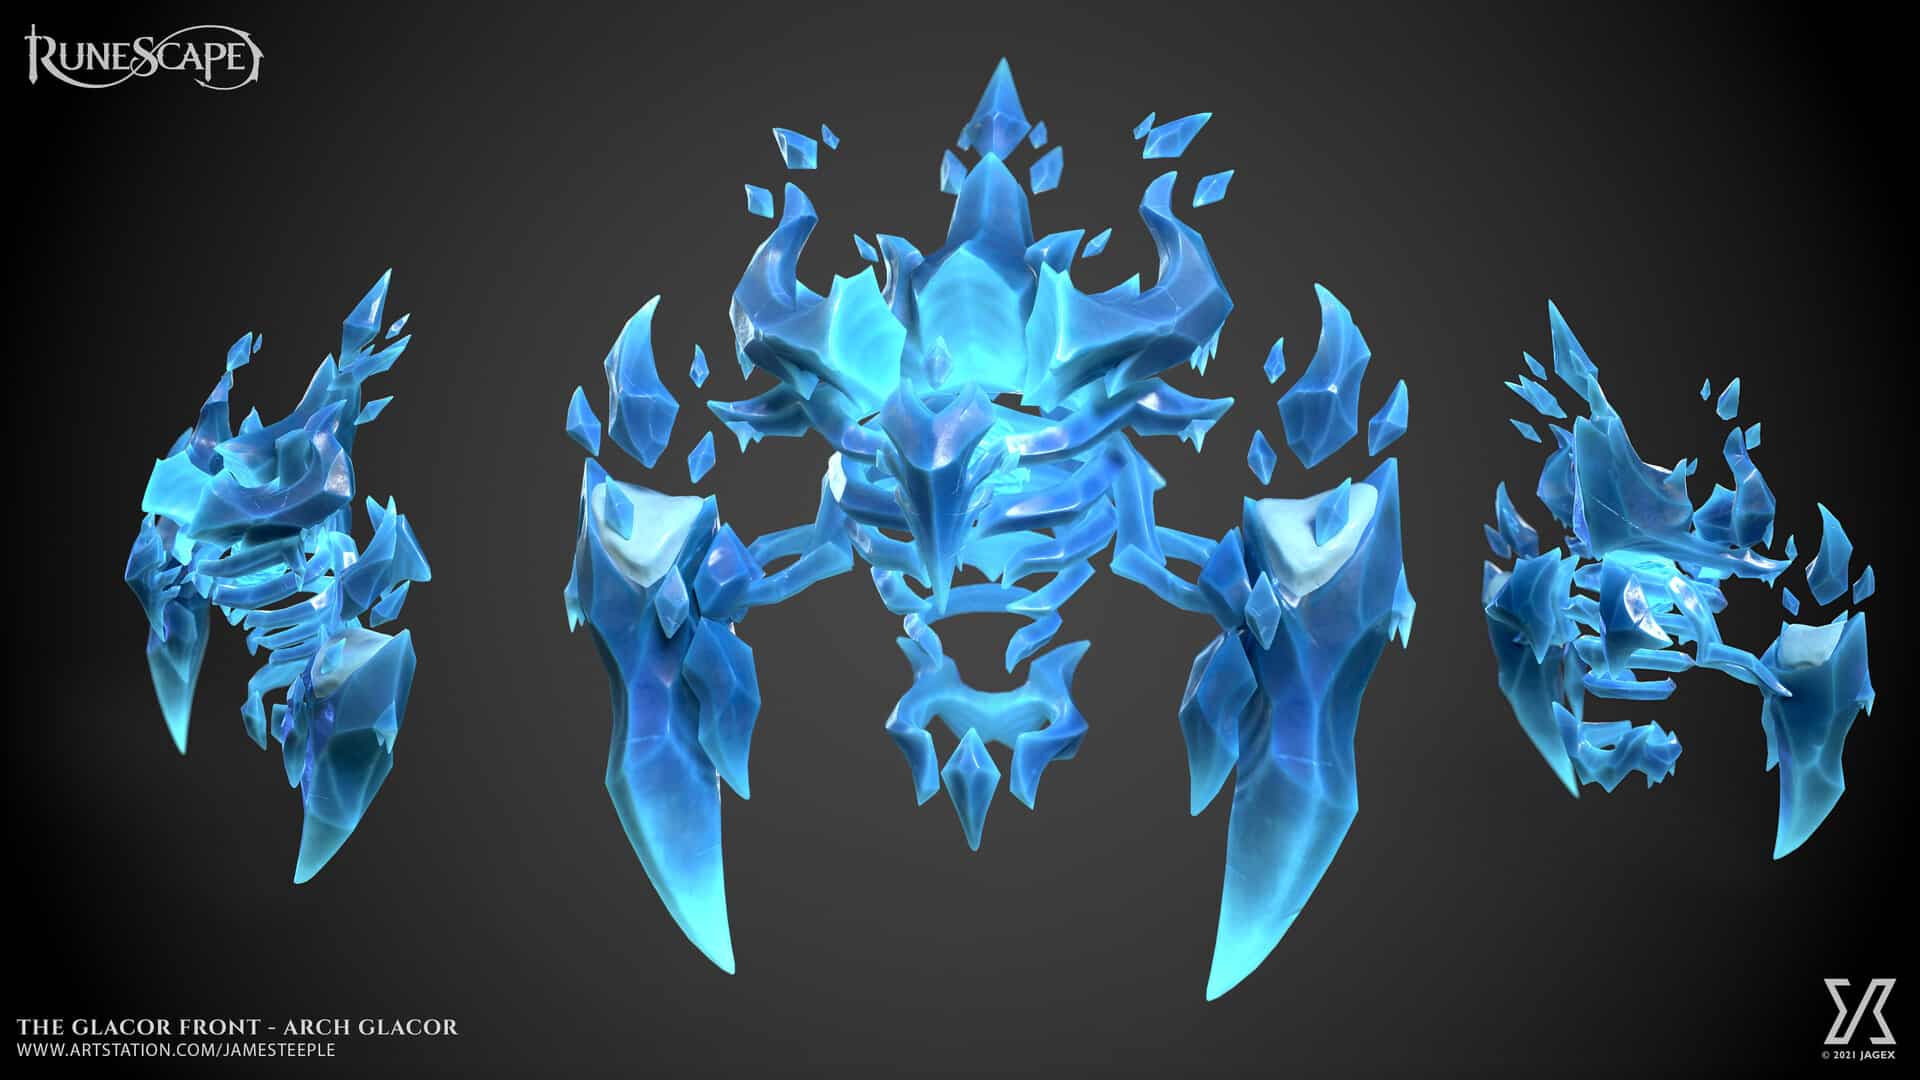
The Arch-Glacor is a large glacor general fighting under Wen. The Arch-Glacor is massable in Normal Mode, but must be fought solo on Hard Mode, which introduces a enrage mechanic similar to Telos  .
.
The Arch-Glacor is only affected by the Glacor slayer task on Normal Mode. The slayer helmet  bonus and genocidal
  bonus will work on The Arch-Glacor; however, Tuska’s Wrath
  will not be boosted.
Anúncios
Drops
⬥ Normal Mode: Scripture of Wen  and the Leng Artefact
  used to upgrade Nightmare Gauntlets
  , Gloves of Passage
  , and Kerapac’s Wristwraps
  . The Arch-Glacor always drops 3 piles of loot in Normal Mode. Each pile contains at most 1 Dark Nilas
  .
.
⬥ Hard Mode: The Frozen Core of Leng  used to upgrade the t85 melee weapons to t95 can only be obtained from Hard Mode. In Hard Mode, each kill gives a roll of loot in the Frozen Vault. Players can choose to risk the drops in the Vault for an increased chance of better loot, at the cost of a more difficult fight known as streaking, much like Telos. For each kill that a player continues in the streak, enrage increases between 5-20%. 0 to 42 Dark Nilas can be obtained in a single roll.
Anúncios
Glacor remnants 
⬥ Dark Nilas
⬥ Leng Artefact
⬥ Scripture of Wen
⬥ Frozen Core of Leng
⬥ Glacor Core 
Preset for How to get arch glacor
⬥ If using Smoke Cloud  via spellbook swap rather than borrowed power, you may substitute food for the extra pouch
⬥ You can adjust your food and replace blubbers and grests with solids and saradomin brews as you climb enrage, if needed
⬥  Planted Feet
  switch.
⬥  Caroming 4
  switch for
  .
.
⬥  Essence of Finality with a Seren Godbow
  stored.
⬥  Essence of Finality with a Dark Bow
  stored.
⬥  Essence of Finality with Eldritch Crossbow
  stored.
⬥  Rune Pouch


⬥  Rune Pouch


(Runes for 
 )
)

⬥ Relics
•  Death Ward
•  Fury of the Small
•  Heightened Senses
Mechanics for How to get arch glacor
From the start of the fight, the Arch-Glacor will cycle through sets of 5 different mechanics (Glacyte Minions, Flurry, Pillars of Ice, Frost Cannon and Exposed Core) in random order. Once a set of 5 mechanics is completed, the next set will begin. This repeats until the fight ends.
⬥ Normal mode: All mechanics except for Creeping Ice can be toggled off, which decreases the Arch-Glacor’s HP but lowers the quality of drops.
Creeping Ice
⬥ Normal mode and Hard mode: Ice Shards approach slowly from either side and force the player into a specific area of the arena. These areas are different for each mechanic:
• Flurry: Middle
• Pillars of Ice: West
• Frost Cannon: West, Middle, or East
• Exposed Core: Middle
⬥ If players are pushed by the Creeping Ice, they will be struck with a small amount of melee damage and pushed in the direction the ice is approaching, interrupting any channels. If a player attempts to Surge  , Bladed Dive
  , Barge
  or Escape
  on the tick they are pushed, they will be pulled back to the spot where they were standing and then pushed.
Glacyte Minions
⬥ Normal Mode: The Arch-Glacor spawns 4 glacyte minions. As well as attacking the player, the Arch-Glacor will be immune to damage until all its minions are killed. Minions have 2500 HP. The light blue ones attack with mage while the dark blue ones attack with melee.
⬥ Hard Mode: Minions have 13500 HP until 2500% enrage. Starting from 250% enrage, a Bolstered Glacyte minion will additionally spawn, which has 27000 health and attacks with melee. After 2500% enrage, all minions’ health start to scale.
⬥ The spawning animation will interrupt the attack animation of the previous auto attack, but the auto attack will still go through. This is especially important to know if the previous mechanic is Flurry.
Flurry
⬥ Normal Mode: The Arch-Glacor’s auto attacks will switch between Mage and Ranged with high damage in their respective style. The player has increased damage reduction when praying against the correct combat style.
⬥ Hard Mode: The Arch-Glacor gains a melee attack where it swipes one of its arms across the arena. The damage from auto attacks scales with enrage.
⬥ The last 2 auto-attacks from this mechanic can carry over into Glacyte Minions.
⬥ It is recommended to fight the boss with game sounds as each type of auto has a different audio cue.
⬥ In the sped-up example below, the Arch-Glacor performs Melee → Melee → Ranged auto-attacks. The animation for the 2nd melee auto-attack is cut short by Glacyte Minions but still goes through (first hit blocked by Devotion  ), and the glacor performs 1 more ranged auto-attack under Flurry after minions have spawned.
Pillars of Ice
⬥ Normal mode: The Arch-Glacor forces the player to the west side and calls down elemental beams from the sky. The first beam appears shortly after the Arch-Glacor raises its arms, with the second beam appearing just before the Creeping Ice disappears. Being hit by the beam deals a random amount of hard typeless damage and saps 8% of max Prayer points.
⬥ Hard mode: A third beam will appear shortly after second around the middle of the arena. Beams will additionally drain 1% adrenaline for every hit on the player. The damage from beams scale with enrage.
⬥ All beams despawn around 20 seconds after the first beam spawns.
⬥ Generally, this mechanic can be handled by simply moving as such:
• Walking to the most Southwest tile.
• Bladed Dive or Walking South and then East to the most Northeast tile that isn’t blocked by Creeping Ice as the first beam is about to approach you.
• After Creeping Ice despawns, walk East until you’re about to be hit by the second beam and then Surge .
• Attack the Glacor, causing you to face it and then Surge towards it as the Creeping Ice or the second beam is about to hit you.
⬥ The arm raise animation at the start of the mechanic will interrupt the attack animation of the previous auto attack, but the auto attack will still go through, demonstrated in the example below.
Frost Cannon
⬥ Normal Mode: The Arch-Glacor traps the player in a small area and launches a huge surge of energy at them. The beam deals a high hit of magic, with damage scaling according to the number of mechanics enabled.
⬥ Hard Mode: The beam now deals 3 hits, and the first hit applies a 6 second stun  and bind. The damage does not scale with enrage.
⬥ The recommended to deal with this mechanic is casting Reflect  with Deflect Magic
  active for the first 2 hits and casting Resonance
  for the 3rd hit while flicking to Soul Split
  to heal back to full.
Exposed Core
⬥ Normal Mode: The Arch-Glacor releases its frozen core into the centre of the arena, trapping players with its arms, each having 17500 HP. The frozen core damages and applies a stacking debuff on the player, each stack increasing the damage dealt. The player must kill either of the arms and get out of its proximity in order to stop the damage.
⬥ Hard Mode: Arms now have 32500 HP, which start to scale with enrage after 2500%.
Enrage
On Hard Mode, the Arch-Glacor’s HP and auto attack damage increases with enrage.
Strategy for How to get arch glacor
Generally, streaking low enrage up to 500% is considered the best method to farm the boss. Ranged is considered the best style as the long time between auto-attacks (7 ticks) gives you plenty of time to Soul Split flick while under the Eldritch Crossbow Special Attack  for fast kills, and the Seren Godbow Special Attack hits hard on this boss due to its large size. Since the order of mechanics are mostly random, you will need to vary your rotations depending on which mechanic you get first.
Starting rotation/Death Swiftness rotations
⬥ These rotations apply at the start of the fight and generally every time you use Death Swiftness  afterwards.
⬥ Upon entry into instance, walk to the center of the arena, 1 tile to the west of the 4th pillar from the east.

⬥ 3 seconds post entry, use +  →
→  + Vuln
  → TC +
  + + .
+ + .
⬥ If Creeping Ice approaches, SGB spec instantly. If not, Needle Strike  to prevent nulling on Glacyte Minions.
• Afterwards, use  →
→  /
/ before if your next mechanic is not Glacyte Minions or Exposed Core.
- If Flurry is your first mechanic, follow with → → equip +  → (Dual wield) → Improvise. Try to get a second SGB spec in your DS
  if Exposed Core is not your next mechanic.
- If Frost Cannon is your first mechanic, use  → .
→ .
• If Pillars of Ice is your first mechanic, follow the movements in the video below to stay in your DS as much as possible. Use Greater Ricochet before the Creeping Ice forces you out of DS . Try to get a second SGB spec in your DS .
• If Glacyte Minions is your first mechanic, use Mechanical Chinchompas  to clear minions using → / depending on adrenaline → Improvise.
• If Exposed Core is your first mechanic, → Any ability → TC onto arms + → .
- If you have 100% or more adrenaline, you can Incendiary Shot  before using ECB since you have 2-3 GCDs before the boss becomes targetable.
General rotation advice
⬥ If you get arms, and it’s not in your first DS , equip Ruby Bakriminel bolts  and kill arms with: equip + auto → (Dual wield) → equip (Switch after Ruby proc) → Improvise with basics. This rotation can be really fast for arms.
⬥ It is practical to use Natural Instinct  after clearing arms and building to 100% for your next Death Swiftness .
• If Relentless  procs, just use Incendiary Shot after using Natty so that you can cycle more Dark Bow Special attacks in the DS after.
⬥ Stick to Hydrix Bakriminel bolts  when the boss has less than 100k HP.
⬥ If you’re around 80% adrenaline in DS , just use Dbow specs .
")


