
How to Pay Vendors in Quickbooks Online?
Anúncios
Paying your vendors is an important part of keeping your business running smoothly. QuickBooks Online makes it easy to pay your vendors and keep track of payments. Here are the steps to follow to pay a vendor in Quickbooks Online:
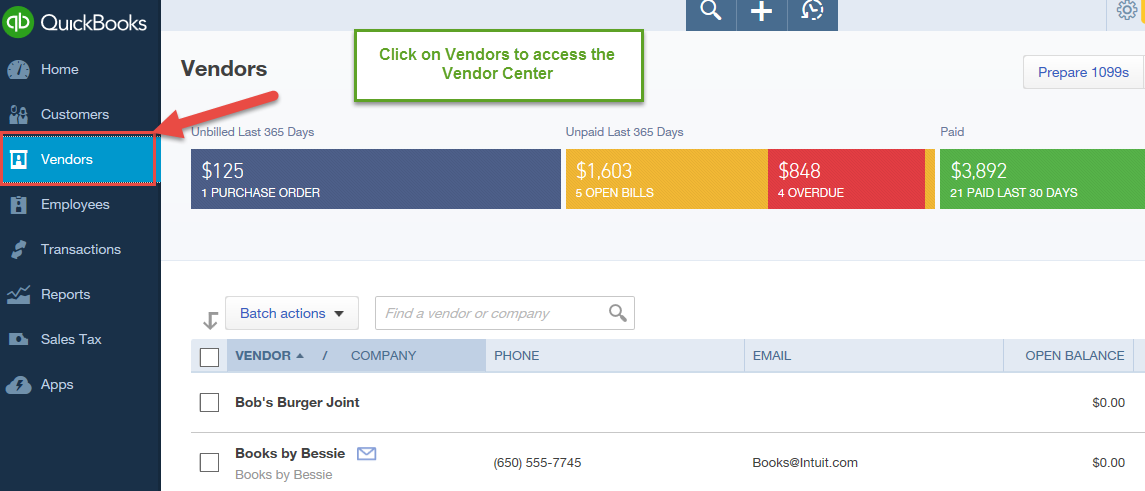
1. Go to the Vendors tab and select the vendor you want to pay.
2. Click on the Pay button.
3. Enter the amount you want to pay in the Payment field.
4. Select the account you want to use for this payment from the Account drop-down menu.
5. If you have multiple bills from this vendor, you can select which bill(s) you want to apply this payment towards by selecting them from the Apply To drop-down menu(s).
- To pay a vendor in Quickbooks Online, open the Vendors tab and select the vendor you wish to pay
- Click on the Pay Bills button
- In the pop-up window, select the bills you wish to pay and enter the payment information
- Click on the Pay button to process the payment
How to pay your vendors through ACH and check and pay NO fees through QuickBooks Online.
Can You Pay Vendors Electronically Quickbooks Online?
Yes, you can pay vendors electronically in QuickBooks Online. When you set up a vendor in QuickBooks Online, you have the option to include their bank account information. This will allow you to make electronic payments to the vendor directly from QuickBooks Online.
Anúncios
How Do I Pay Bills Directly from Quickbooks Online?
Assuming you would like a step-by-step guide on how to pay bills directly from QuickBooks Online:
1. Log in to your QuickBooks Online account and select the “+” icon at the top of the screen.
2. From the dropdown menu, select “Pay Bills.”
3. On the next page, select which vendor you would like to pay by clicking on their name.
4. Select the invoices that you would like to include in this payment batch by checking the box next to each invoice. 5. When you are finished selecting invoices, click on the “Pay Selected Bills” button at the bottom of the page.
6. On the following page, you will be able to review all of the invoices that will be paid with this batch payment. If everything looks correct, click on the “Submit Payment” button.
7a) If you are paying by check:
On the next screen, fill out all of the relevant information for your check (e.g., check number, date). When you are finished, click on “Save & Close.” Your bill will now be marked as paid in QuickBooks Online!
7b) If you are paying by credit card:
Fill out all of your credit card information on the next screen and then click on “Charge Card.” Your bill will now be marked as paid in QuickBooks Online!
How Do I Add a Payment Method to a Vendor in Quickbooks?
There are a few different ways that you can add a payment method to a vendor in QuickBooks. First, you can go to the Vendors menu and select Add/Edit Vendors. Then, find the vendor that you want to add a payment method for and click on their name.
Next, click on the Payment Method drop-down menu and select the payment method that you want to use. Finally, click Save and Close.
Alternatively, you can go to the Lists menu and select Chart of Accounts.
Then, find the vendor that you want to add a payment method for and click on their name. Next, click on the Edit button (located next to the Account Type field) and then click on the Payment Method drop-down menu. Select the payment method that you want to use and then click OK.
Again, don’t forget to save your changes by clicking Save & Close.
Anúncios
How Do I Make a Vendor Payment?
Assuming you would like tips on how to make a vendor payment:
1. Determine the method of payment – will you be paying by check, wire transfer or ACH? Each method has its own set of instructions that must be followed in order for the payment to be processed correctly.
2. Gather the necessary information – when making a payment by check, you will need the vendor’s name and address; if paying by wire transfer, you will need the vendor’s bank routing number and account number; if paying by ACH, you will need the vendor’s ACH routing number and account number.
3. Fill out any required paperwork – some vendors may require a completed W-9 form before they will process your payment; others may have their own internal forms that need to be completed.
4. Make the payment – once all of the necessary information has been gathered and any required paperwork has been completed, you can finally make thepayment.
Be sure to keep a copy of any documentation for your records.

Credit: quickbooks.intuit.com
How to Pay Vendors Via Ach in Quickbooks Online
There are a few different ways that you can pay your vendors in Quickbooks Online (QBO). You can either write them a check, use your credit card, or pay them via ACH.
If you’re paying via ACH, there are a few things you’ll need to have handy.
First, you’ll need the routing number and account number for the vendor’s bank account. You’ll also need to know the type of account it is (checking or savings).
Once you have all of that information, log into your QBO account and go to the “Banking” tab.
From there, find the “ACH Payment” option and select it.
Enter all of the required information about the vendor and their bank account. Be sure to double-check everything before submitting it!
Once everything is entered correctly, hit “Submit” and QBO will take care of the rest. The payment should process within 1-2 business days.
How to Pay Vendors in Quickbooks Online With Direct Deposit
If you use QuickBooks Online to manage your business finances, you may be wondering how to pay your vendors using direct deposit. Fortunately, QuickBooks Online makes it easy to set up and make payments using direct deposit. Here’s a step-by-step guide on how to do it:
1. Log in to QuickBooks Online and go to the Vendors tab.
2. Select the vendor that you want to pay by direct deposit.
3. Click on the Pay Bills button.
4. In the Payment Method drop-down menu, select Direct Deposit.
5. Enter the amount that you want to pay in the Amount field and click Save & Close.
That’s all there is to it!
How to Pay Vendors in Quickbooks Desktop
When it comes time to pay your vendors in QuickBooks Desktop, there are a few different options available to you. You can use the QuickBooks Bills feature to create and track bill payments, or you can use the Make Deposits function to make payments directly from your bank account.
If you’re using the Bills feature, simply select the vendor that you want to pay and enter the amount due.
Then, select the payment method (check, credit card, etc.) and choose when you want the payment to be made. When it’s time to make the payment, just print out the check or process the credit card transaction and send it off.
If you’re using Make Deposits, first record any checks that you’ve received from customers.
Then, go to Banking > Make Deposits and select the Vendor Payments account. Enter the amount of each vendor payment into its respective field and hit Save & Close. Finally, go back into Banking > Write Checks and select “To Be Printed” from the drop-down menu at the top.
Select all of the vendor payments that you want to include on this check run and hit Print Checks.
Paying your vendors is quick and easy in QuickBooks Desktop!
Conclusion
Assuming you would like a summary of the blog post titled “How to Pay Vendors in QuickBooks Online?”:
In order to pay vendors in QuickBooks Online, first log into your account and select the “+” sign next to “Vendors” on the left-hand panel. Then, click “Pay Bills.”
Doing so will bring up a list of all unpaid bills from vendors. Select the bills that you would like to pay by clicking the checkboxes next to them, then click “Continue.”
On the following page, you will be able to see a summary of all selected bills.
From here, you can choose how you would like to pay each bill – either through a bank account or credit card that is linked to your QuickBooks Online account, or by printing a check directly from QuickBooks. Once you have selected your payment method(s), click “Pay Selected Bills” at the bottom of the page.


